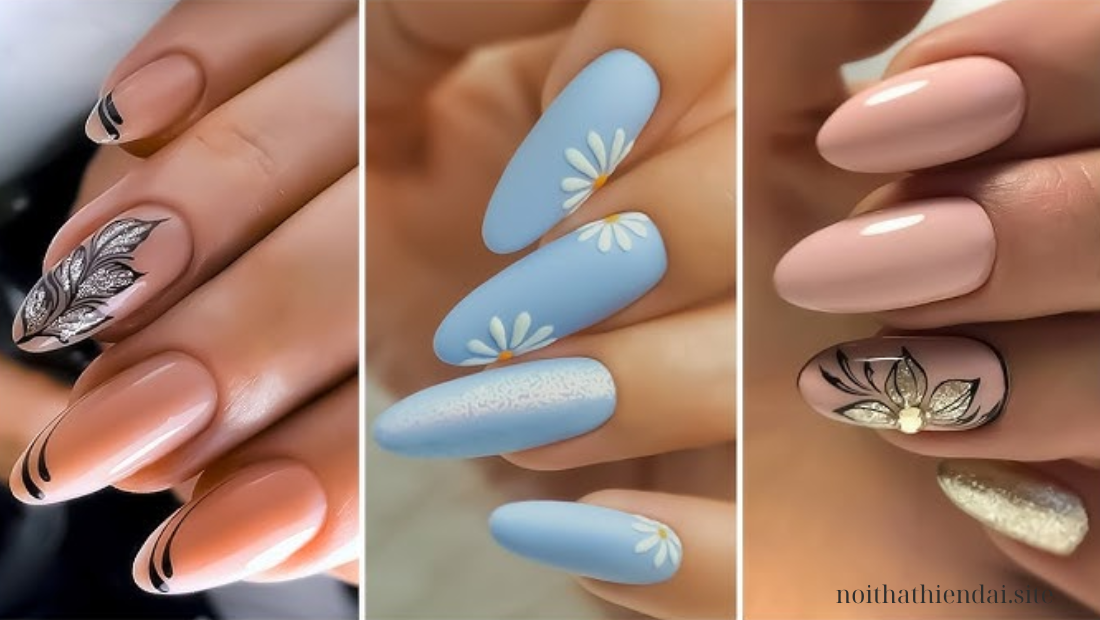
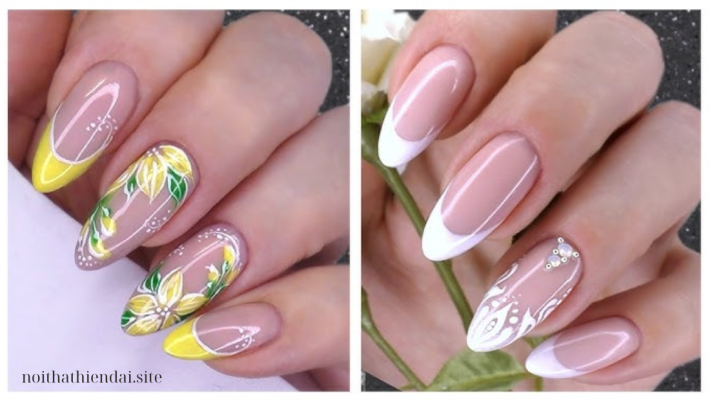
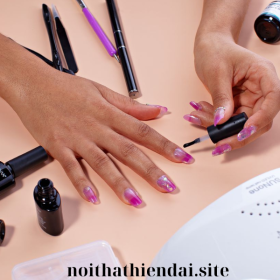
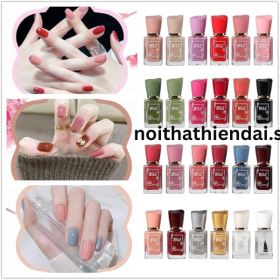
Gel nails have become a staple in the world of manicures, prized for their stunning finish and incredible durability. Unlike regular nail polish, gel nail colors are designed to last for weeks without chipping, making them a favorite among those who value both beauty and longevity. In this comprehensive guide, we’ll explore tips and tricks for achieving beautiful, long-lasting gel nails that keep your hands looking fabulous while also ensuring that your manicure withstands the test of time.
What Are Gel Nails?
Before diving into tips for long-lasting gel nails, it’s essential to understand what gel nails are. Gel nail polish is a type of nail polish that is cured under ultraviolet (UV) or LED light. The curing process hardens the gel, creating a durable layer that resists chipping and dulling. Gel nails are available in various colors and finishes, from high-gloss to matte, providing endless possibilities for nail art and design.
Benefits of Gel Nails
- Longevity: Gel nails can last up to three weeks or more without chipping.
- Glossy Finish: They maintain a high-shine finish throughout their wear.
- Quick Drying: The curing process means that gel nails dry almost instantly, reducing the risk of smudging.
- Less Damage: When applied and removed correctly, gel nails can cause less damage to the natural nail compared to other enhancements.
Preparing for Your Gel Nail Application
1. Gather Your Supplies
To achieve the best results with gel nails, you’ll need the following supplies:
- Gel nail polish (base coat, color, and top coat)
- UV or LED nail lamp
- Nail file and buffer
- Cuticle pusher
- Nail cleanser or alcohol wipes
- Lint-free wipes
- Optional: nail primer and hydration oil
2. Nail Preparation
Proper preparation is critical for long-lasting gel nails. Follow these steps for an ideal application:
- Clean Your Nails: Remove any old polish and wash your hands thoroughly. Use nail cleanser or alcohol wipes to ensure there is no residue on the nails.
- Trim and Shape: Cut and file your nails to your desired shape. Round, square, or oval shapes are all popular options.
- Push Back Cuticles: Gently push back your cuticles with a cuticle pusher. This not only gives your nails a neat appearance but also helps the gel polish adhere better.
- Buff the Surface: Lightly buff the surface of your nails to remove any shine. This step creates a rough surface for the gel to adhere to, enhancing durability.
3. Apply a Nail Primer
While optional, applying a nail primer can improve the adhesion of gel polish, especially for those with oily nail beds. A primer helps the gel polish bond better and reduces the likelihood of lifting.
The Gel Nail Application Process
1. Base Coat
- Apply a Thin Layer: Apply a thin layer of gel base coat to your nails, ensuring to cover the entire nail surface and seal the edges.
- Cure: Place your nails under the UV or LED lamp for the recommended time (usually 30-60 seconds for LED and 2 minutes for UV).
2. Color Coat
- First Layer: Apply the first layer of your chosen gel color, again ensuring an even and thin application. Be careful not to touch the cuticles.
- Cure: Cure under the lamp as per the instructions for the polish.
- Second Layer: Apply a second layer of color for depth and vibrancy, then cure once more.
3. Top Coat
- Final Seal: Apply a gel top coat to seal your manicure and provide a high-gloss finish.
- Cure: Cure the top coat as directed.
- Wipe the Nails: After curing, use a lint-free wipe and nail cleanser or alcohol to wipe the surface of your nails to remove the sticky residue.
Tips for Long-Lasting Gel Nails
1. Choose Quality Products
Investing in high-quality gel nail products is crucial for long-lasting results. Look for reputable brands that are known for their durability and ease of application.
2. Avoid Skin Contact
Be mindful to keep the gel polish off the skin and cuticles. If the polish comes into contact with the skin, it can lift and cause the manicure to chip.
3. Seal the Edges
When applying your base coat, color coat, and top coat, be sure to seal the edges of your nails. This means running the brush along the tip of your nail to create a protective barrier against chips.
4. Follow Curing Instructions
Different gel polishes may have different curing times. Always follow the manufacturer’s instructions for the best results. Over-curing can lead to brittleness, while under-curing can cause lifting.
5. Use Cuticle Oil Regularly
After your gel nails are done, keep your cuticles moisturized with cuticle oil. Regularly applying cuticle oil not only keeps your nails looking healthy but also helps to prevent lifting and keeps your nails flexible.
Maintaining Your Gel Nails
1. Avoid Harsh Chemicals
Harsh chemicals in cleaning products and detergents can weaken your gel nails. When doing household chores, consider wearing gloves to protect your nails.
2. Keep Your Hands Hydrated
Maintaining moisture in your hands and nails will prevent them from becoming brittle. Drink plenty of water and use hand cream regularly.
3. Avoid Excessive Force
Be cautious about using your nails as tools (e.g., opening cans, scratching surfaces). This can lead to chipping and breaking, reducing the lifespan of your manicure.
4. Schedule Regular Touch-Ups
While gel nails can last for weeks, scheduling regular touch-ups every 2-3 weeks will keep your manicure looking fresh and prevent growth gaps.
How to Remove Gel Nails Safely
Removing gel nails properly is essential to avoid damage to your natural nails. Follow these steps:
- File the Top Layer: Gently file the top layer of your gel nails to break the seal.
- Soak in Acetone: Soak cotton balls in acetone, place them on your nails, and wrap them with aluminum foil. Allow them to sit for about 10-15 minutes.
- Gently Scrape Off: After soaking, gently scrape off the gel with a cuticle pusher or an orange stick. Be gentle to avoid damaging the natural nail.
- Buff and Moisturize: After removal, buff your nails lightly and apply cuticle oil or nail strengthener to nourish and protect your nails.
Conclusion
Achieving beautiful, long-lasting gel nails is entirely possible with the right techniques and care. By following these tips and tricks, you can enjoy stunning manicures that withstand the test of time without overspending. Whether you’re preparing for a special occasion or simply want to indulge in a little self-care, gel nails can provide the perfect finishing touch. Remember, proper application, maintenance, and removal are key to keeping your nails looking their best, so embrace these practices and enjoy the elegance and durability of gel nail colors.
